Stepping out – taking a break – and a recipe for Irish Soda Bread!

The weather has been warm and I have covered most of the territory in Kingston core that is surrounding where I live so to complete my personal challenge of walking all the streets in the core, I will have to go a bit farther afield. When the cooler fall weather hits, I will try to do that.

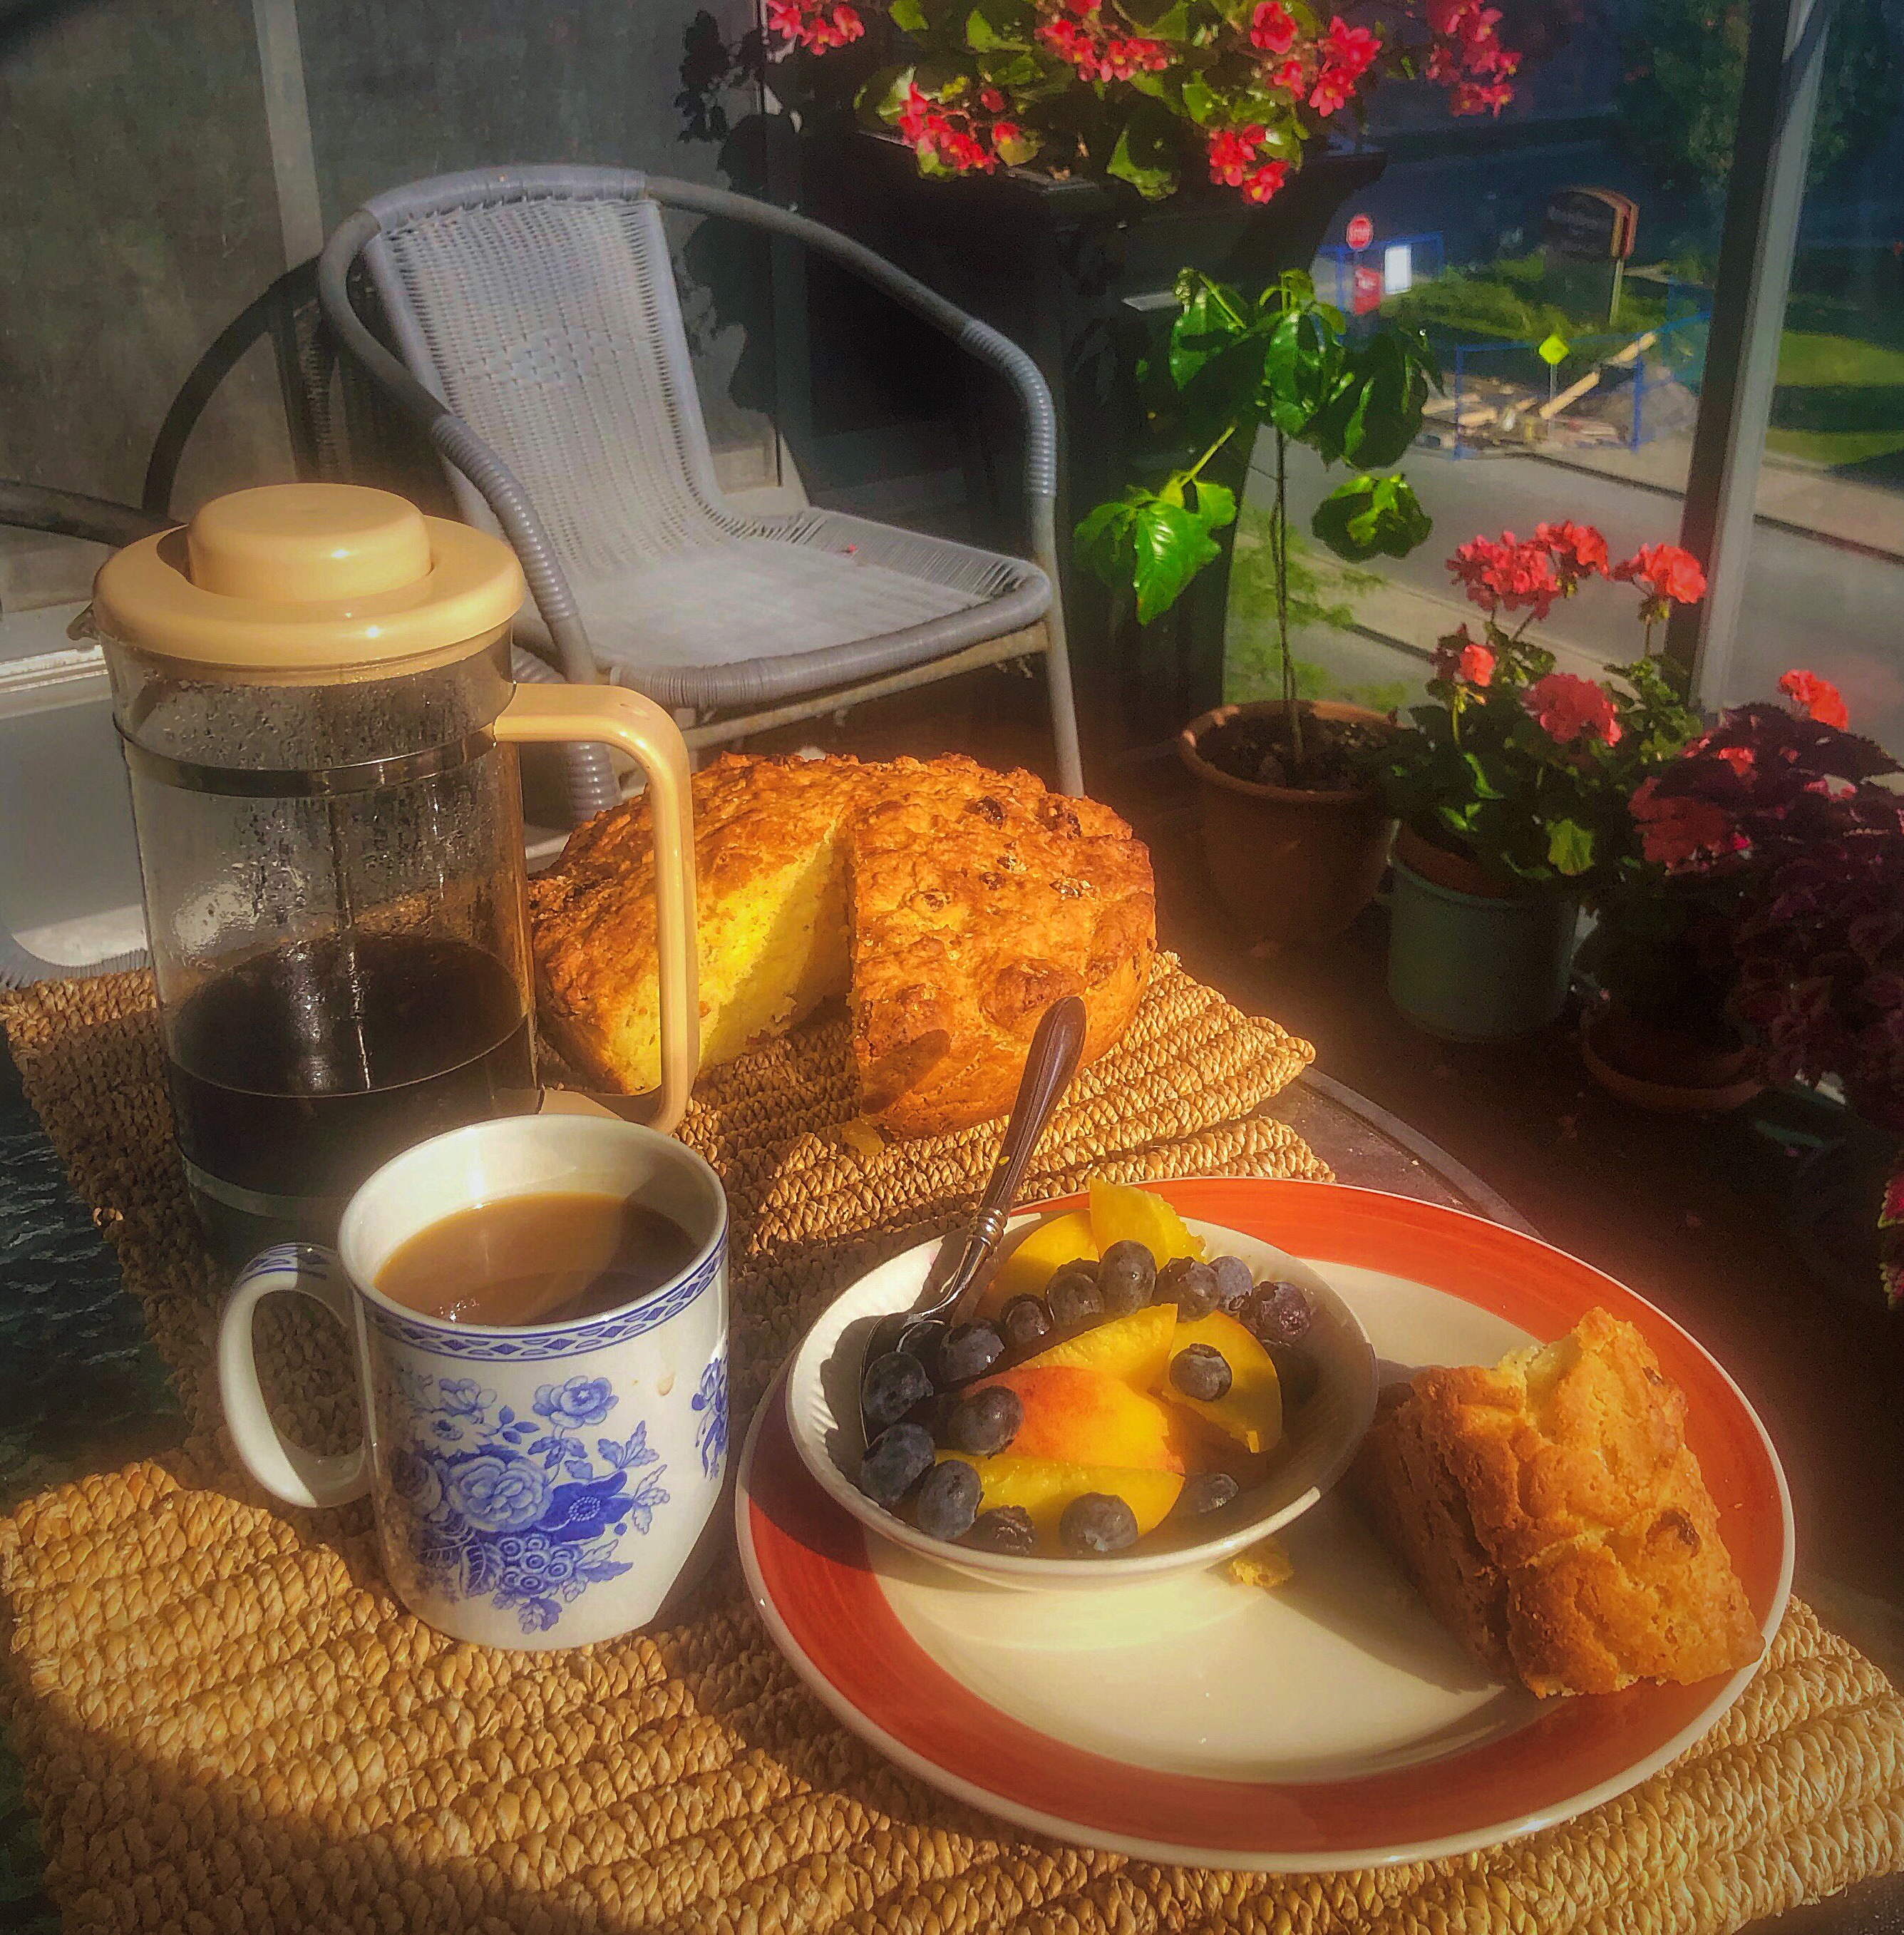
Today, rather than walk this morning, I elected to make some Irish Soda Bread in my cast iron skillet. I took it out to my balcony in the September sunshine and enjoyed it with coffee and some fresh peaches and blueberries. A couple of friends have asked for the recipe so here it is:

Irish Soda Bread in the Cast Iron Skillet

Ingredients:

3 cups flour

1 1/2 Tbsp sugar

1 tsp salt

1 tsp Baking Soda

3 Tbsp cold Butter, cut in little chunks

1/2 cup raisins

Some candied orange peel cut in small pieces

1 egg

1 1/2 cups Buttermilk ( I substitute 1 1/2 Tbsp white vinegar made up to 1 1/2 cups with milk)

Preheat the oven to 425 degrees F with the cast iron skillet (about 9-10 inch diameter) in the oven to get hot as well.

Sift the dry ingredients together. Add butter and cut it in with a pastry cutter or crumble it in with your fingers until the mixture is coarse and even.

Mix in the raisins and orange peel.

Make a dip in the middle of the dry mix and beat the egg and add the milk to it. Mix it all together. (I use a wooden spoon and I only mix it enough to be sure that the dry ingredients have been incorporated.)

Remove the skillet from the oven (IT IS HOT. BE CAREFUL.) and put a bit (1/2 Tbsp?) of olive oil into it and coat the bottom and sides of the skillet. I have a little silicone brush that I use to brush it around.

Pour the batter into the skillet and even it out. Bake for about 40 minutes or until done.

I sometimes drizzle a bit of icing on it – made by combining some icing sugar with a few drops of milk to make it runny enough to drizzle onto the bread. If you add too much milk it is way too runny.

Serve warm with butter, jam or honey. Freezes well, too. Enjoy

And just for a bit more summery cheer before autumn closes in, here are a couple of photos of flowers I have taken in the past couple of weeks while walking around the hood.

Making Rosemary Focaccia

This is a little change of pace for my blog. By now you will realize that my posts tend to be an eclectic mix.

This recipe for rosemary focaccia is just too good not to share. If you have a cast iron pan it is the perfect cooking pan. If not, you can always use a heavy cake pan.

In the youtube video below I will walk you step by step through the recipe. Easy, inexpensive and delicious.

Prego. Bellissimo.

I will walk you through this recipe which is simple and delicious. It would even be a good recipe for kids to make.

Here are the written instructions.

Rosemary Focaccia in the Cast Iron Skillet

Preheat oven to 200 degrees and put the skillet into the oven to warm.

In 3/4 cup warm water dissolve 1/2 tsp sugar.  Add 1 1/2 tsp yeast and let it work for about 5 minutes.

Add 1 cup flour and 3/4 tsp salt and mix it up. I use a wooden spoon to do this.

Add 2 TBSP olive oil and fresh rosemary or dried rosemary (or any combination of that) and mix until combined. I crumble up a couple of large pinches of dried rosemary and then snip in fresh rosemary to taste.

Add another 3/4 cup flour (approximate) and stir it until the dough starts to come away from the bowl. Flour your fingers and draw it away from the bowl sides.

Take the skillet out of the oven (use oven mitts as the handle will be hot) and turn the oven OFF. Grease the skillet with a couple of teaspoons of olive oil and spread the dough evenly into the pan. Cover the pan and dough with a tea towel and put the pan back into the oven for 20-30 minutes.

While the dough is rising, make the topping using 2 TBSP olive oil, 1/4 tsp salt, one or two cloves of chopped garlic and some more fresh or dried rosemary. The flavours will blend while the dough is rising in the warm oven.


When the dough has had a chance to rise, remove the pan from the oven and turn the oven up to 400 degrees F.  Brush the dough with the olive oil/garlic/salt/ Rosemary mix and sprinkle with coarse sea salt .

Bake for 20 minutes in the 400 degree oven.. 

Cool on a rack.

Top with a bit of freshly grated Parmesan Cheese.

Total prep time is about 10 minutes, rising time 20 minutes and cooking time 20 minutes.

Pasta genovese – at least my version

Whenever I visit my friends in San Michele, Italy,  Gloria makes me this pasta dish and I love it.  Adis Pasalic and I used to get a similar version of it at a restaurant in Zenica, Bosnia.   Today I saw the new potatoes and green beans at the market and decided to indulge.  

This is not really a recipe, but an ad hoc version of how to make Pasta Genovese that is close to what Gloria taught me.   It is delicious and very easy.

Ingredients: (I dont measure, use what you think you need)

Pasta ingredients
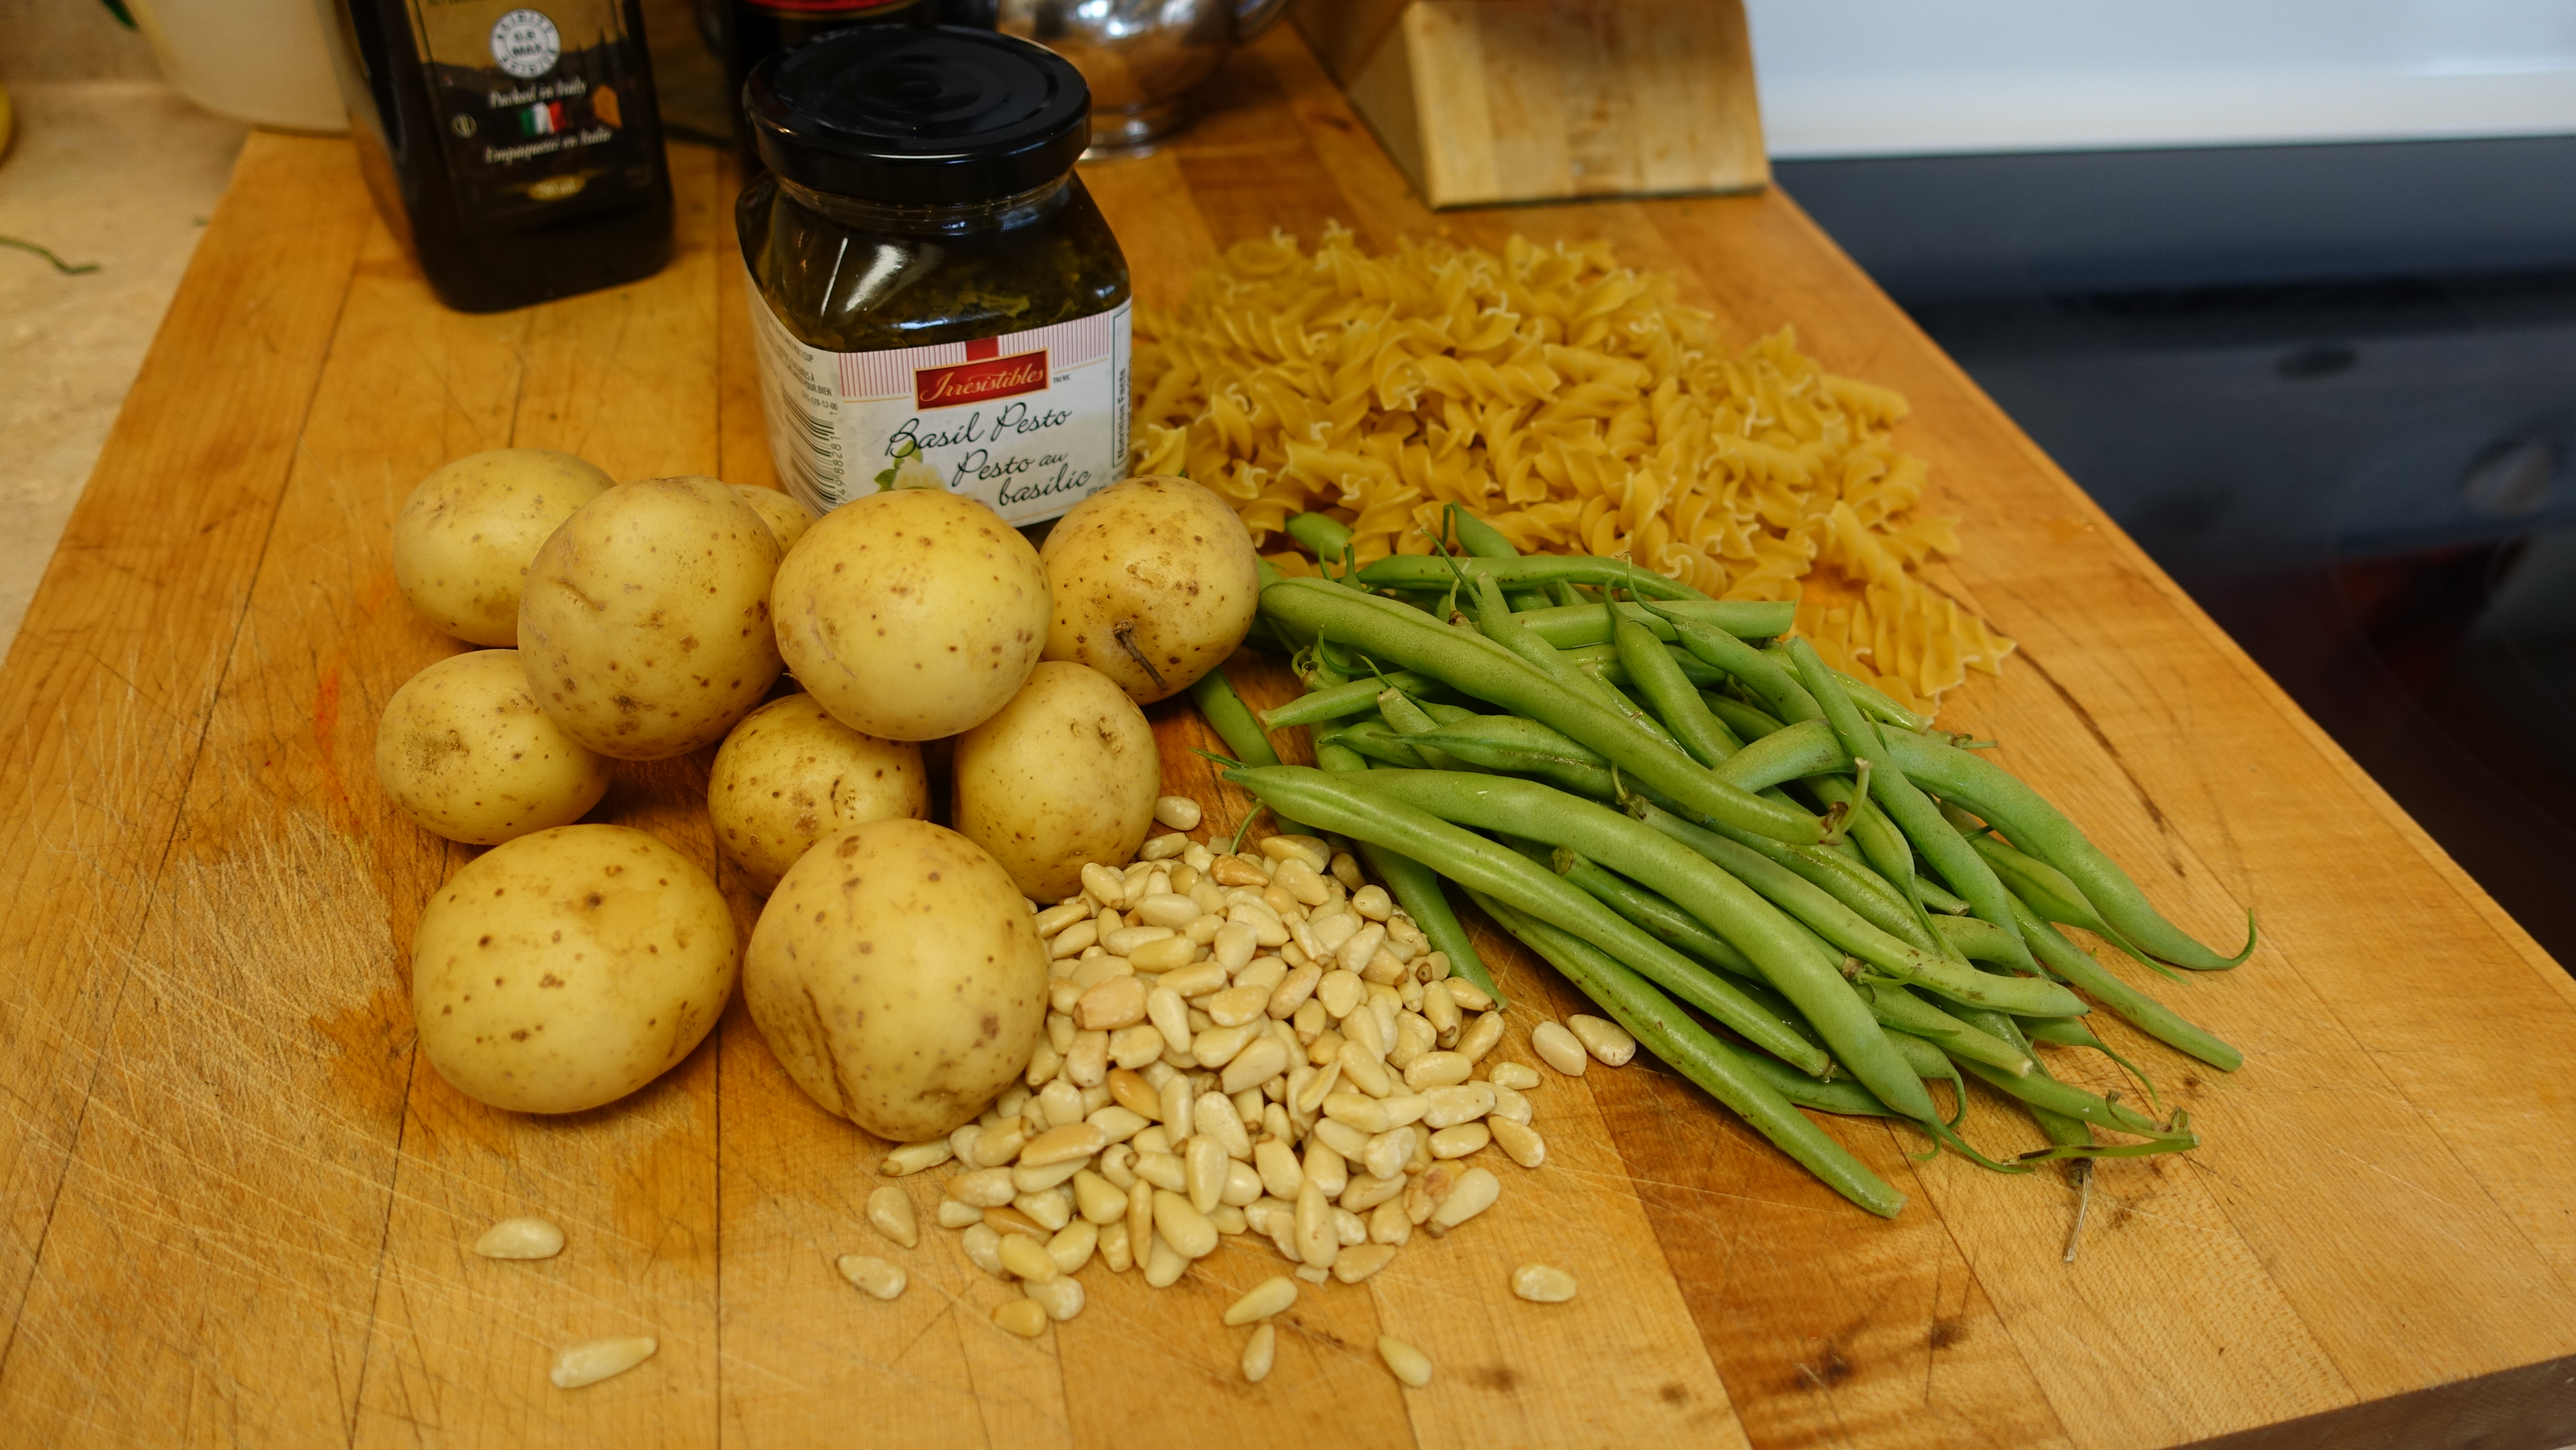
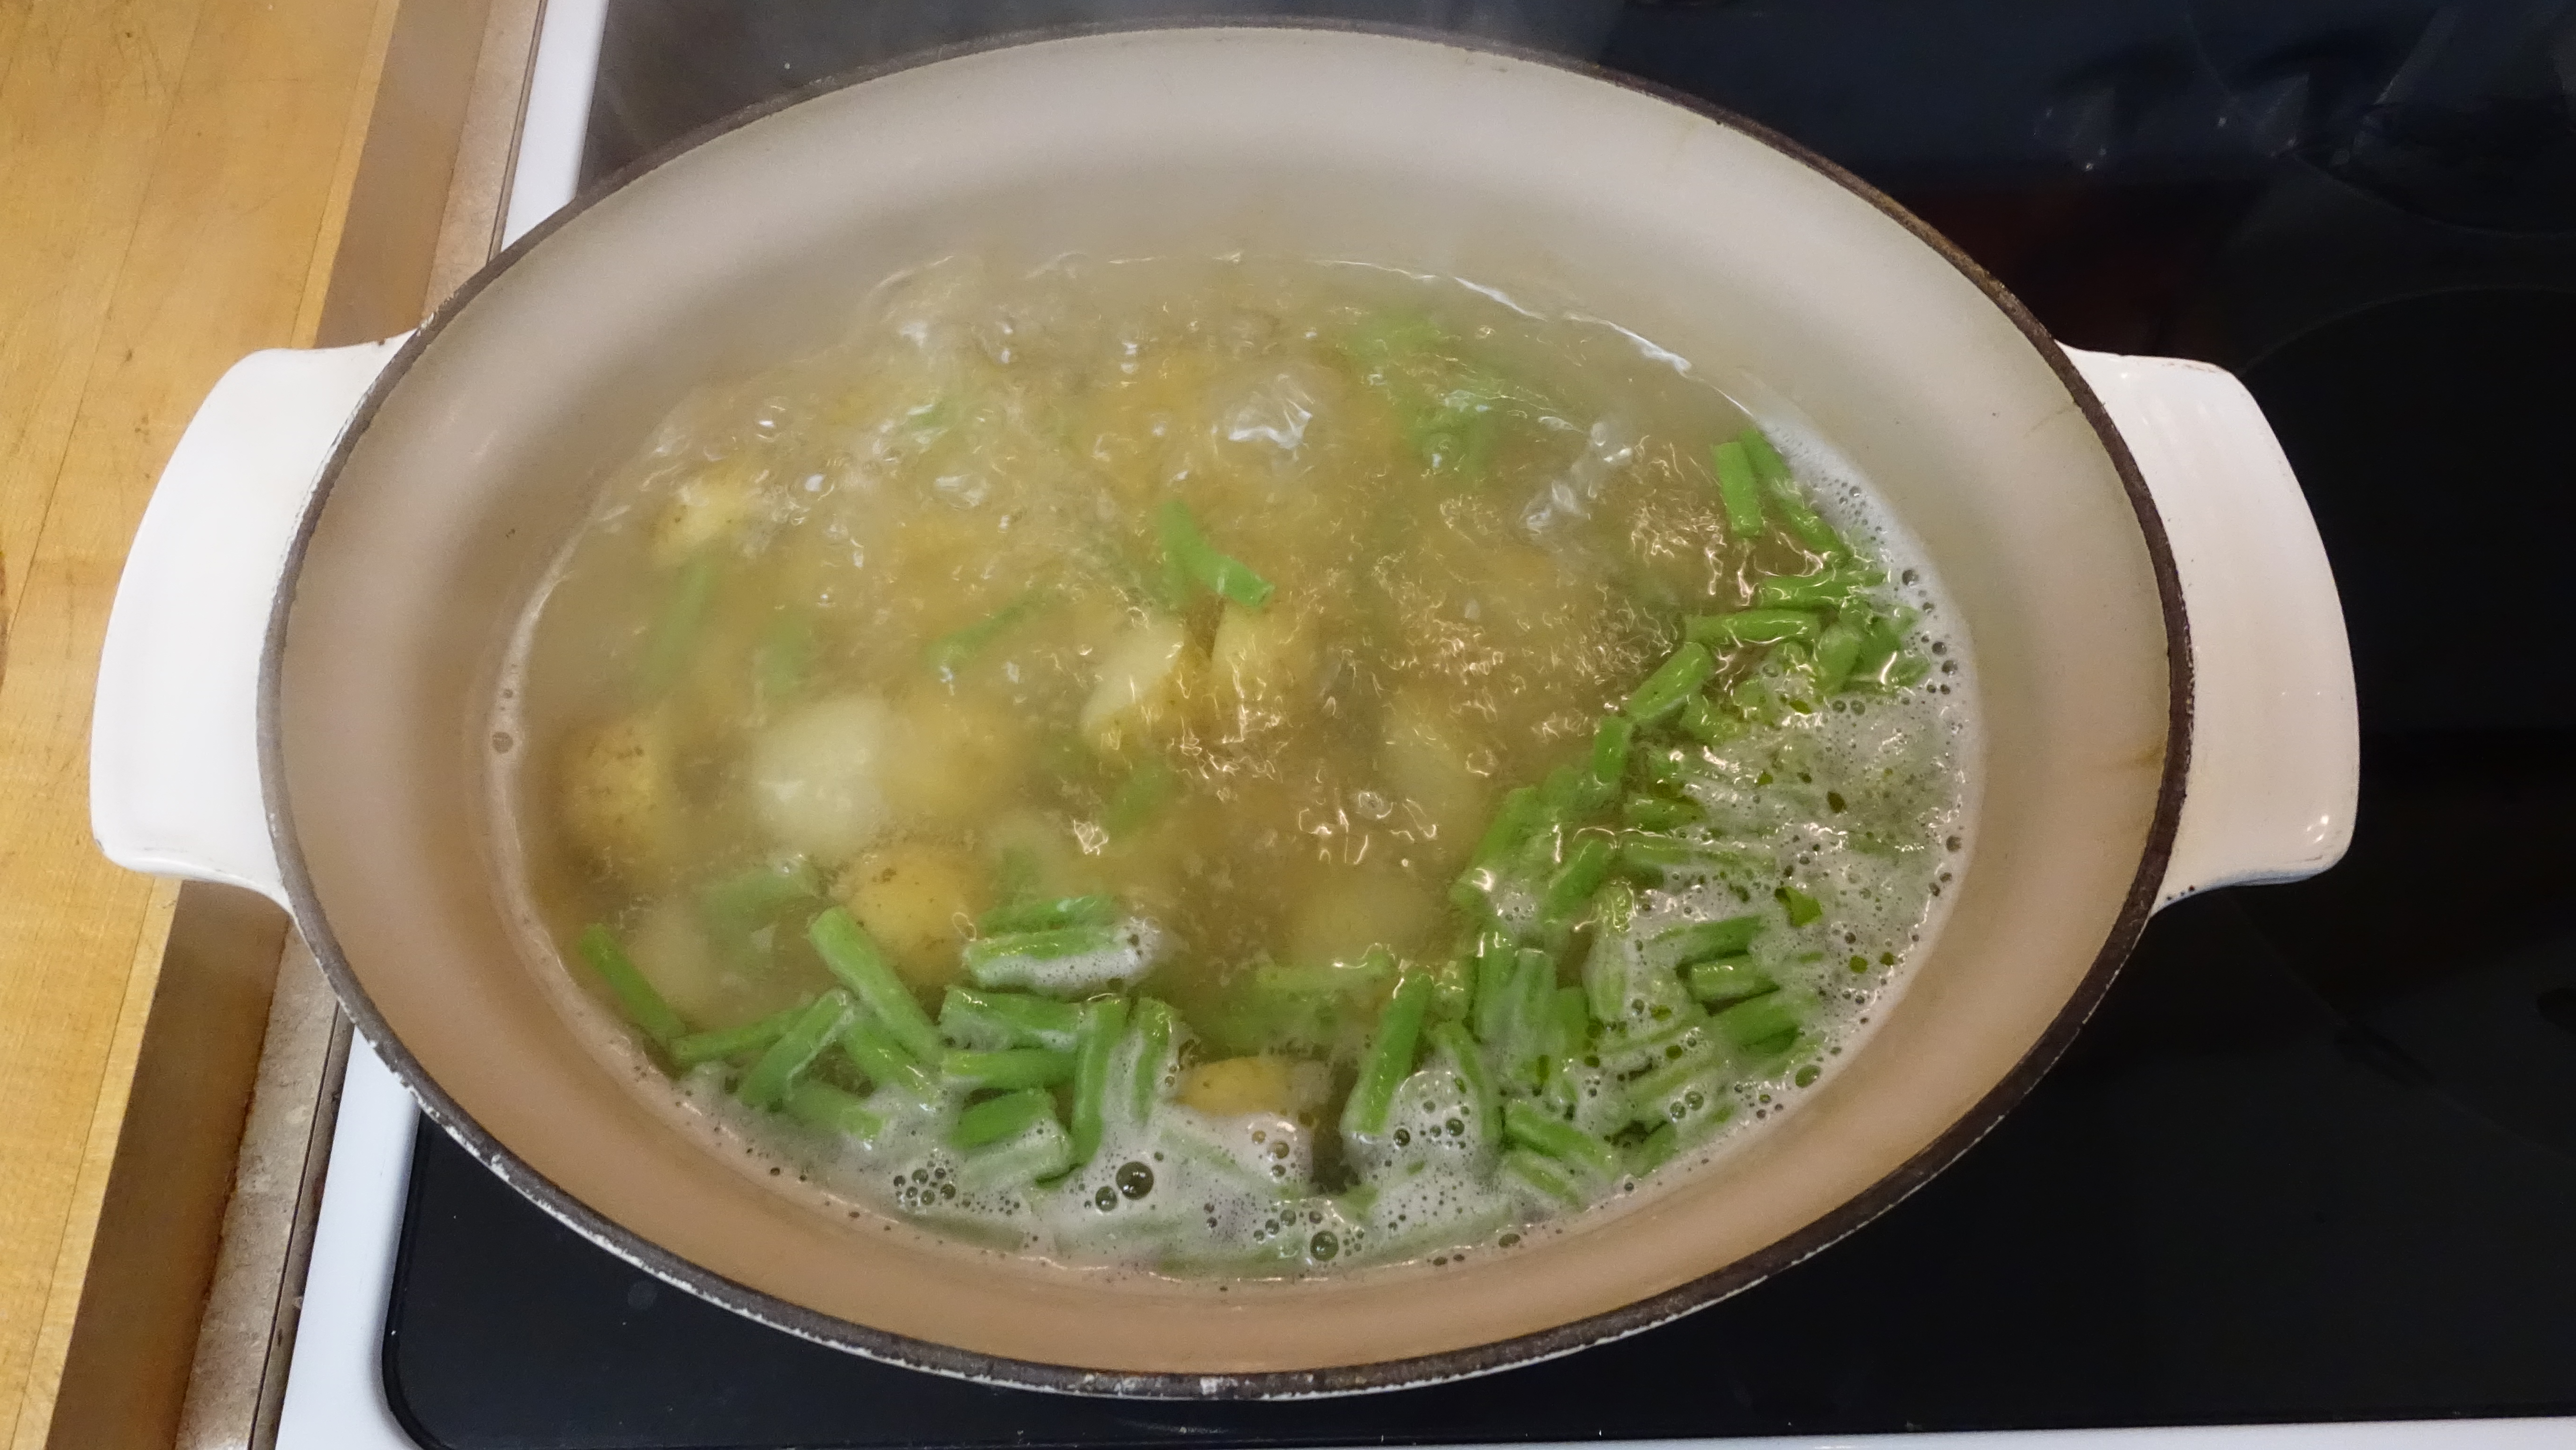
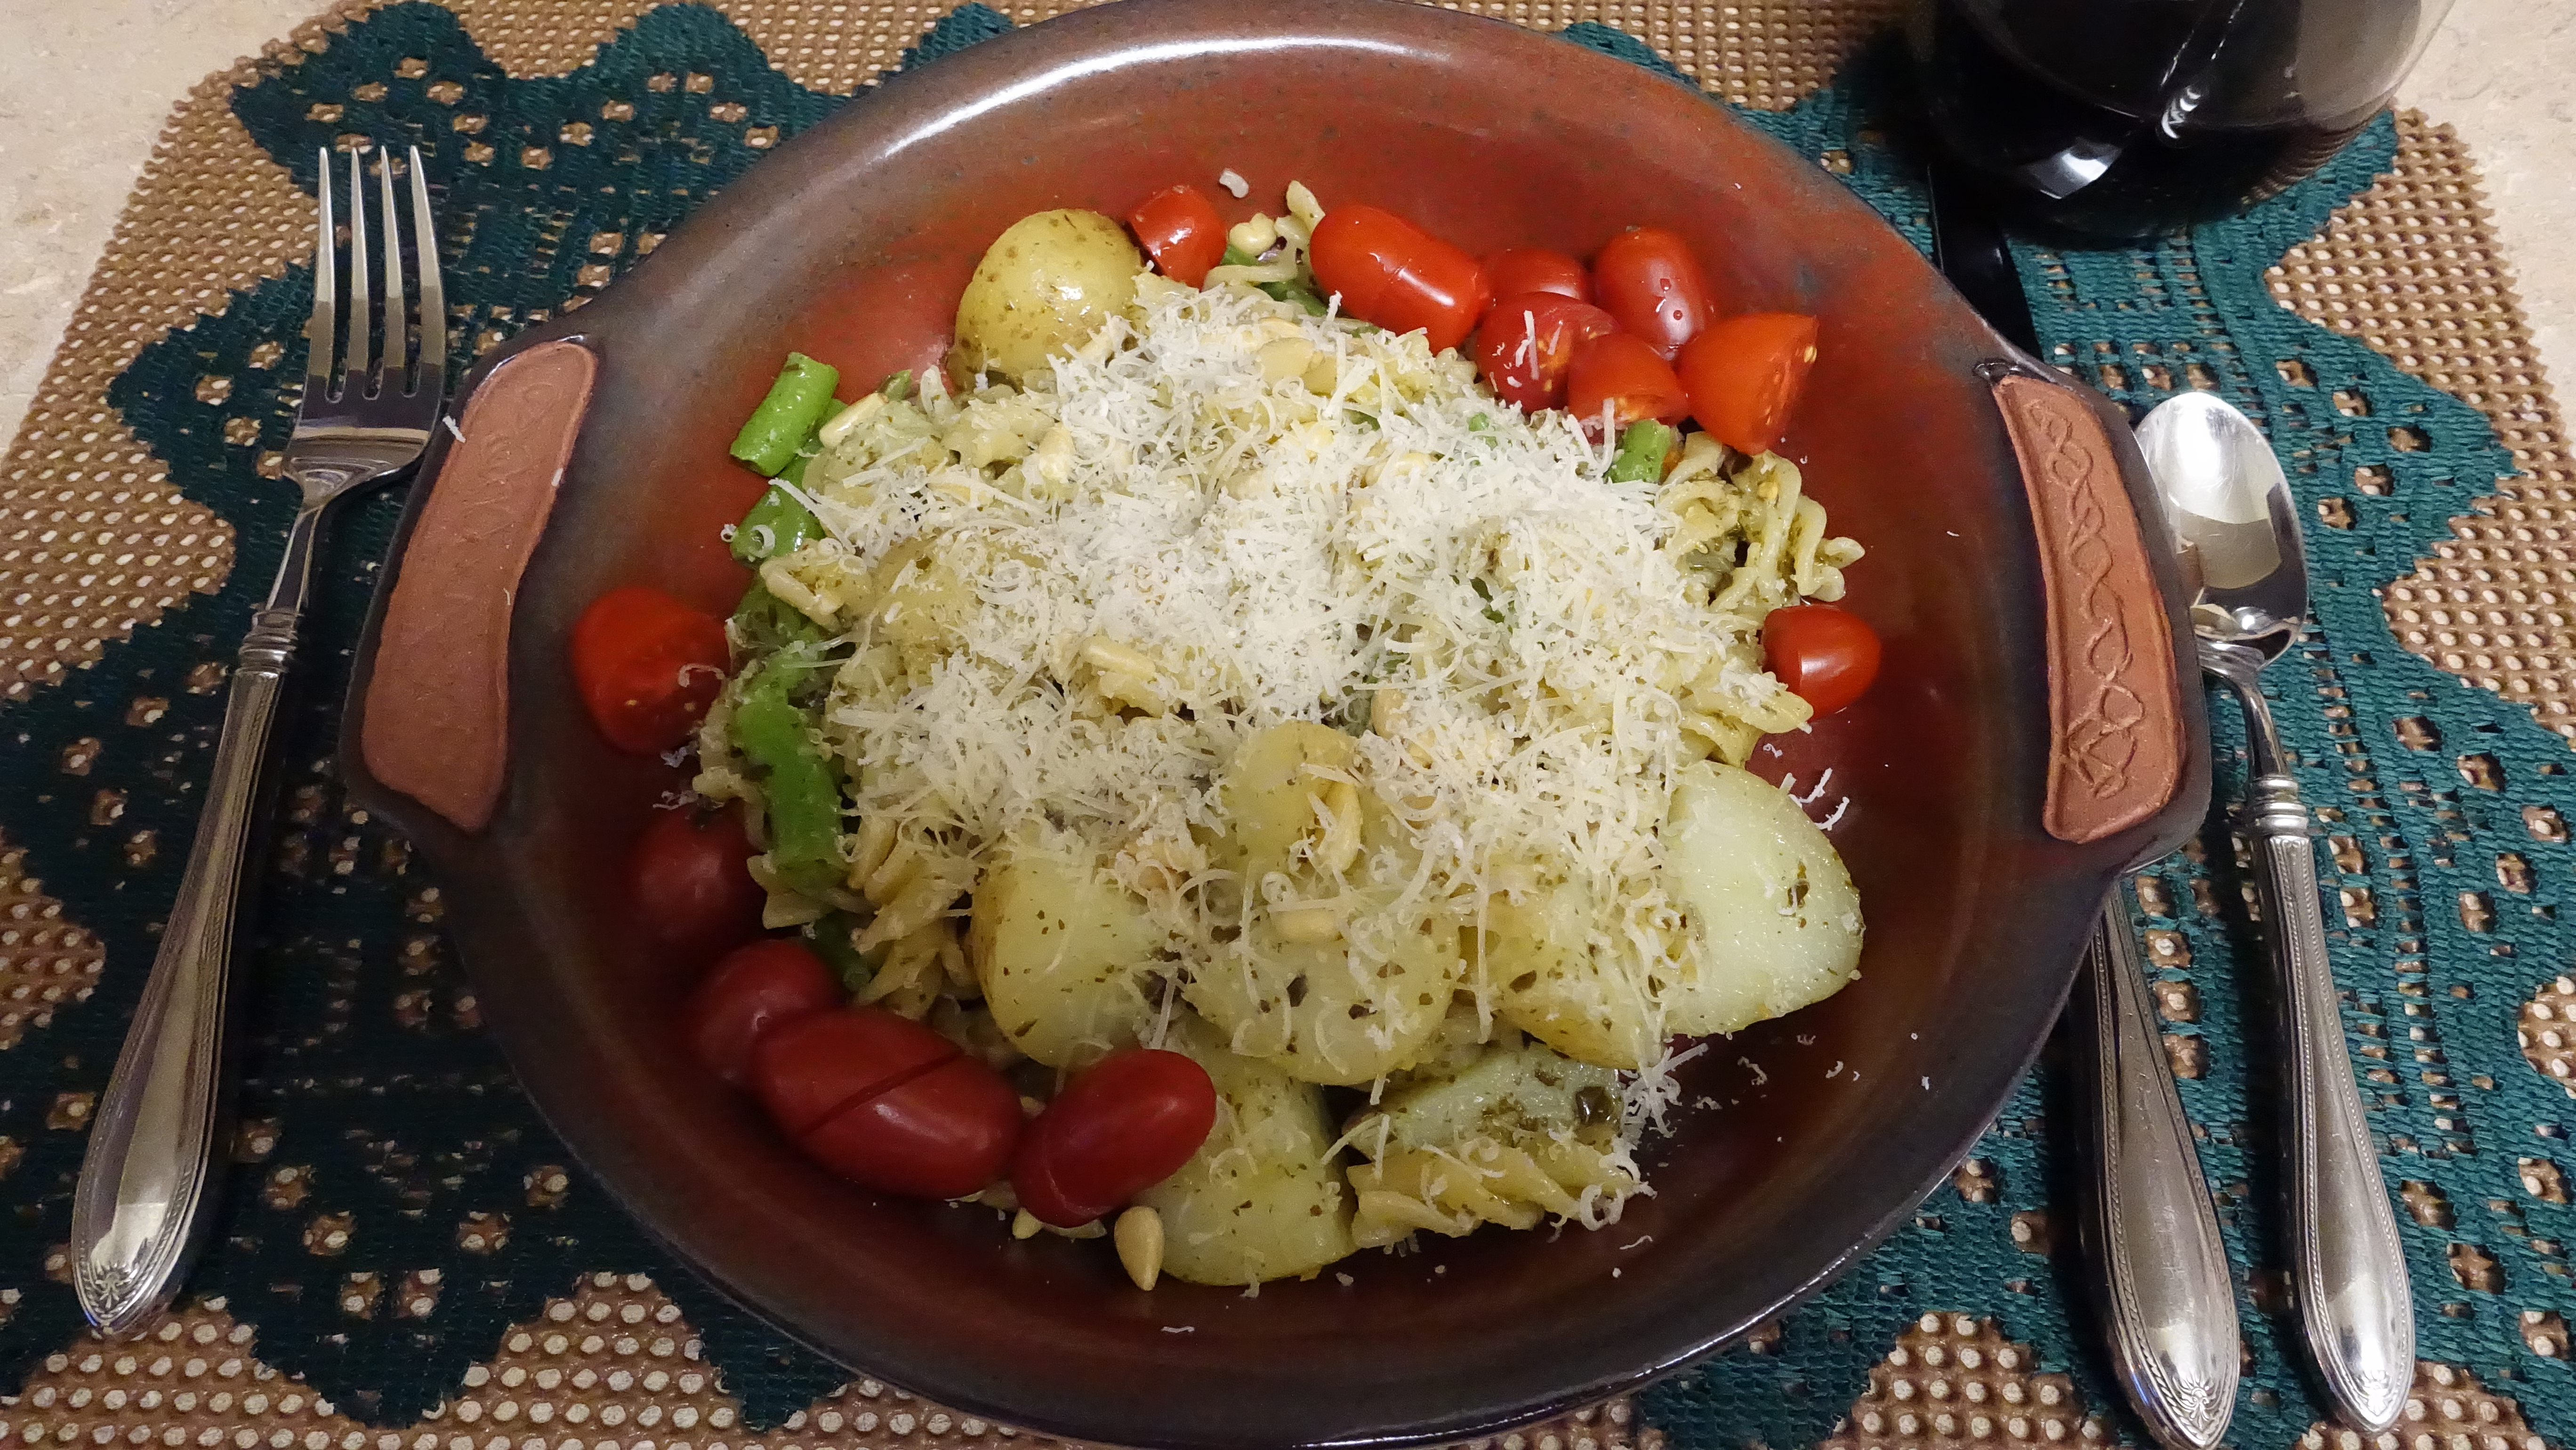
Potatoes (sliced in 1 inch cubes or thereabouts)

Green Beans

Pasta ( Tagliatele is the traditional pasta for this dish but I usually use penne)

Pesto (you can make your own or buy a jar)

Pine nuts, lightly toasted

 Method:

Put a big pot of water with some salt in it on the stove to get boiling. While the water is coming to a boil you can cut up the potatoes into cubes, prepare the beans, and lightly roast the pine nuts under the broiler (watch them).


Throw (gently) the potatoes into the boiling water and boil for about 5 minutes.  Add the pasta and boil for about 9 minutes.  Add the beans (I cut them up into one inch pieces with a scissors into the water). Boil for another 2-3 minutes or until the potatoes are cooked and the pasta is al dente. 

Drain.    Add the pesto and pine nuts and mix.  Add salt to taste.

Sprinkle with some good quality Parmesan cheese.

This is so easy and tastes so good!

Pesto genovese

ADDENDUM:  I had this with a glass of OPEN  Cab2-Merlot  VQA wine from the Niagara Peninsula.  Generally I don’t like Ontario Red wines but this one is really good and has drawn me from California Cabs.  $12.95 at the LCBO or Wine Rack (where you can get a case at $10.95 a bottle!)


Easy supper – Pasta Genovese

I saw some fresh green beans on the market today and some new potatoes and it made me think of a pasta dish that my friend Gloria always serves me when I visit their family in Italy.   The Genovese word comes from Genoa, a city in northern Italy on the Mediterranean Sea where, probably, this recipe either originated or was adopted as local. There is another meat dish with the same name.  Don’t ask me how these two very different pastas have the same name.

There are variations on this but here is how I have ended up doing it.  A very simple meal, vegetarian, making use of fresh vegetables from the fall garden.

Pasta Genovese

Ingredients:

DSC03057New potatoes

Green beans

Pine nuts ( lightly toasted in the oven)

Fusili pasta ( I use this but I think that the recipe may be more “original” with a long thin pasta like spaghetti or tagliatelle.)

Pesto (I buy it ready made up and use about half a jar in the recipe. You can make your own from olive oil, pine nuts and basil if you are adventuresome.)

Parmesan cheese on top. (when I visit Gloria in Italy she always takes me to a local market where I can buy a huge hunk of aged Parmesan to bring home with me.)

Shopping for Parmesan at the San Michele grocer.

Shopping for Parmesan at the San Michele grocer.

Method:

DSC03060Prepare the potatoes and beans.  Scrub the potatoes and cut them into cubes, maybe one inch in size and cut the ends off the beans and slice them into smaller bits.

In a large pot add a tablespoon or so of sea salt to cold water.  Put the potatoes into the pot, cover it and bring it to a boil.  DSC03061Let it boil for a couple of minutes then add the green beans. Let them boil for three or four minutes then throw in the pasta and cook it for about 8-10 minutes or until the pasta is “al dente”.

Drain the lot and dump it into a large bowl.  Add half the DSC03062bottle of pesto and turn the ingredients in it until coated.

DSC03066

Serve it onto a plate with grated parmesan cheese. (and a few tomatoes for colour.)

I don’t measure the ingredients, just throwing in a balanced lot.  Leftovers store well in the fridge and are even more tasty the second day when the pesto has leeched into the potatoes.

Thinking of you, Gloria, as I enjoy this treat.

The hills by San Michele, Italy

The hills by San Michele, Italy

My very own All-Clad 3 qt Stainless Steel Sauté pan with a lid and a handle that stays cool.

I bought myself a Christmas present today while in town to see a movie. It is  my very own All-Clad 3 qt Stainless Steel Sauté pan with its own lid and a handle that stays cool. At home I do a lot of stove-top cooking with veggies and rice and pasta and salmon and this pot has been crying to me through the store window all week.

I then went to the store and bought some stuff to try it out, just guessing what I might make. Here is the recipe I came up with. It was a great initiation for my pan.

Step by step instructions:

1. Turn on your stereo to some music you like and with which you can sing along. You may also want to close the curtains as dancing might break out. I am a big proponent of the “Dance like no one’s watching” slogan as long as no one is. My music choices included Toto, Queen and Slumdog Millionaire. I sang and danced as I cooked.  It adds flavour of some sort, I find.

2. Open a bottle of red wine. I chose one that was recommended by Bob Benford when he and his wife visited me earlier this week – Apothic Red – California – good choice, Bob.
image3. Gather the ingredients and chop them up. I got some Roma Tomatoes (I am disappointed in the quality of vegetables available here in Florida. These ended up rather anemic. You would think with this weather they could grow decent veggies. I guess not.). Porcini mushrooms (all that was left in the mushroom bin this evening as obviously the tourists are flocking in and getting ready for New Year’s), Onion, garlic, fresh basil.
4. Boil up the water in a big pot with a bit of salt and when it is boiling throw in some spaghetti.
image5. Heat up the Sauté pan over medium heat and when it is hot add some oil, just enough to cover the bottom. When that heats (about 30 sec to a minute) add the onions then garlic then mushrooms and finally the tomatoes. Stir for a couple of minutes till they all are cooking nicely then put the lid on the Saute pan, peeking and stirring occasionally.
6. When the spaghetti is al dente, drain it, spray it with some cold water and then add it to the tomato mix. Add the basil at this point too. This final cooking of the pasta in whatever sauce for a couple of minutes is something my Italian friend, Gloria taught me. It allows the pasta to take up some of the flavour of the sauce, whatever it is.
7. Onto the plate and top with grated Parmesan. I had enough for two, as you can see but I toughed it out and ate it all myself. 🙂 Next time I will add capers as well for a little zing.

The pan manufacturer said that clean up would be easy and it was. Warm soapy water and a dishcloth. No stick. Makes me very happy.

Can’t wait to try some more. This will likely be my go-to kitchen pot. Now, how to fit it into my carry-on luggage?

image


Grandma Vardon’s Shortbread

Grandma Vardon was born in 1902.  She was so much fun.

My grandparents Vardon as I remember them on the porch of their house at 504 Grosvenor St.  1958

My grandparents Vardon as I remember them on the porch of their house in London at              504 Grosvenor St.  1958

When she was younger she played the piano in silent movies.  There is a story about the movie house catching fire during a showing and Grandma played the piano as patrons filed out until she gradually was overcome by smoke and fell off the piano stool.  In her later years she took up the accordion which she would tote to family gatherings and serenade us with Tennessee Waltz or any number of polkas.

I always waited at Christmas for her shortbread and have a recipe that I scribbled down as she told it to me in about 1970.  I am happy to share it with you and you can share it too. But if you do, please call it Grandma Vardon’s Shortbread.

It is so simple, but so good. And even better after it has aged a few days. I am going to make some this weekend and take them this Christmas to give to her great-great grandchildren!

Grandma Vardon’s Shortbread.Grandma Vardon's Shortbread

1 cup Brown Sugar

1 lb softened Butter

1/2 tsp salt

2 tsp Vanilla extract

Cream well with a wooden spoon.

Add 1/2 tsp Baking Powder

and 4 cups of flour (not more)

Keep mixing until you have a soft ball. Turn out on a board and knead. Roll out flat and cut out cookies.

Cook at 325 degrees for 18-20 minutes, watching closely as they brown quickly and it is easy to burn them.

We used to make these in circles and bells and Christmas trees and decorate them with sugar sprinkles or one of those little silver sugar balls.

This is a great way to remember my long-gone Grandma Vardon (1902-1973) at Christmas. It seems like yesterday.


cookies